Creating a login flow with Xamarin Forms Shell
Since the release of Xamarin Forms 4.5, Shell now supports modal navigation. Since one of my highest ranking blog posts is how to create a login page with Xamarin Forms. I thought it was time to revisit the topic and look at how to implement a login page using the Shell.
So what is so special about a login page? Well, to state the obvious, the user should only be able to exit it after entering a correct login. Further, the user should not be able to leave the login page, i.e. navigate back to a previous page. And finally once successfully authenticated, the user should not find the login page when navigating back. If you are looking for a authentication scenario with a backend check out this blogpost.
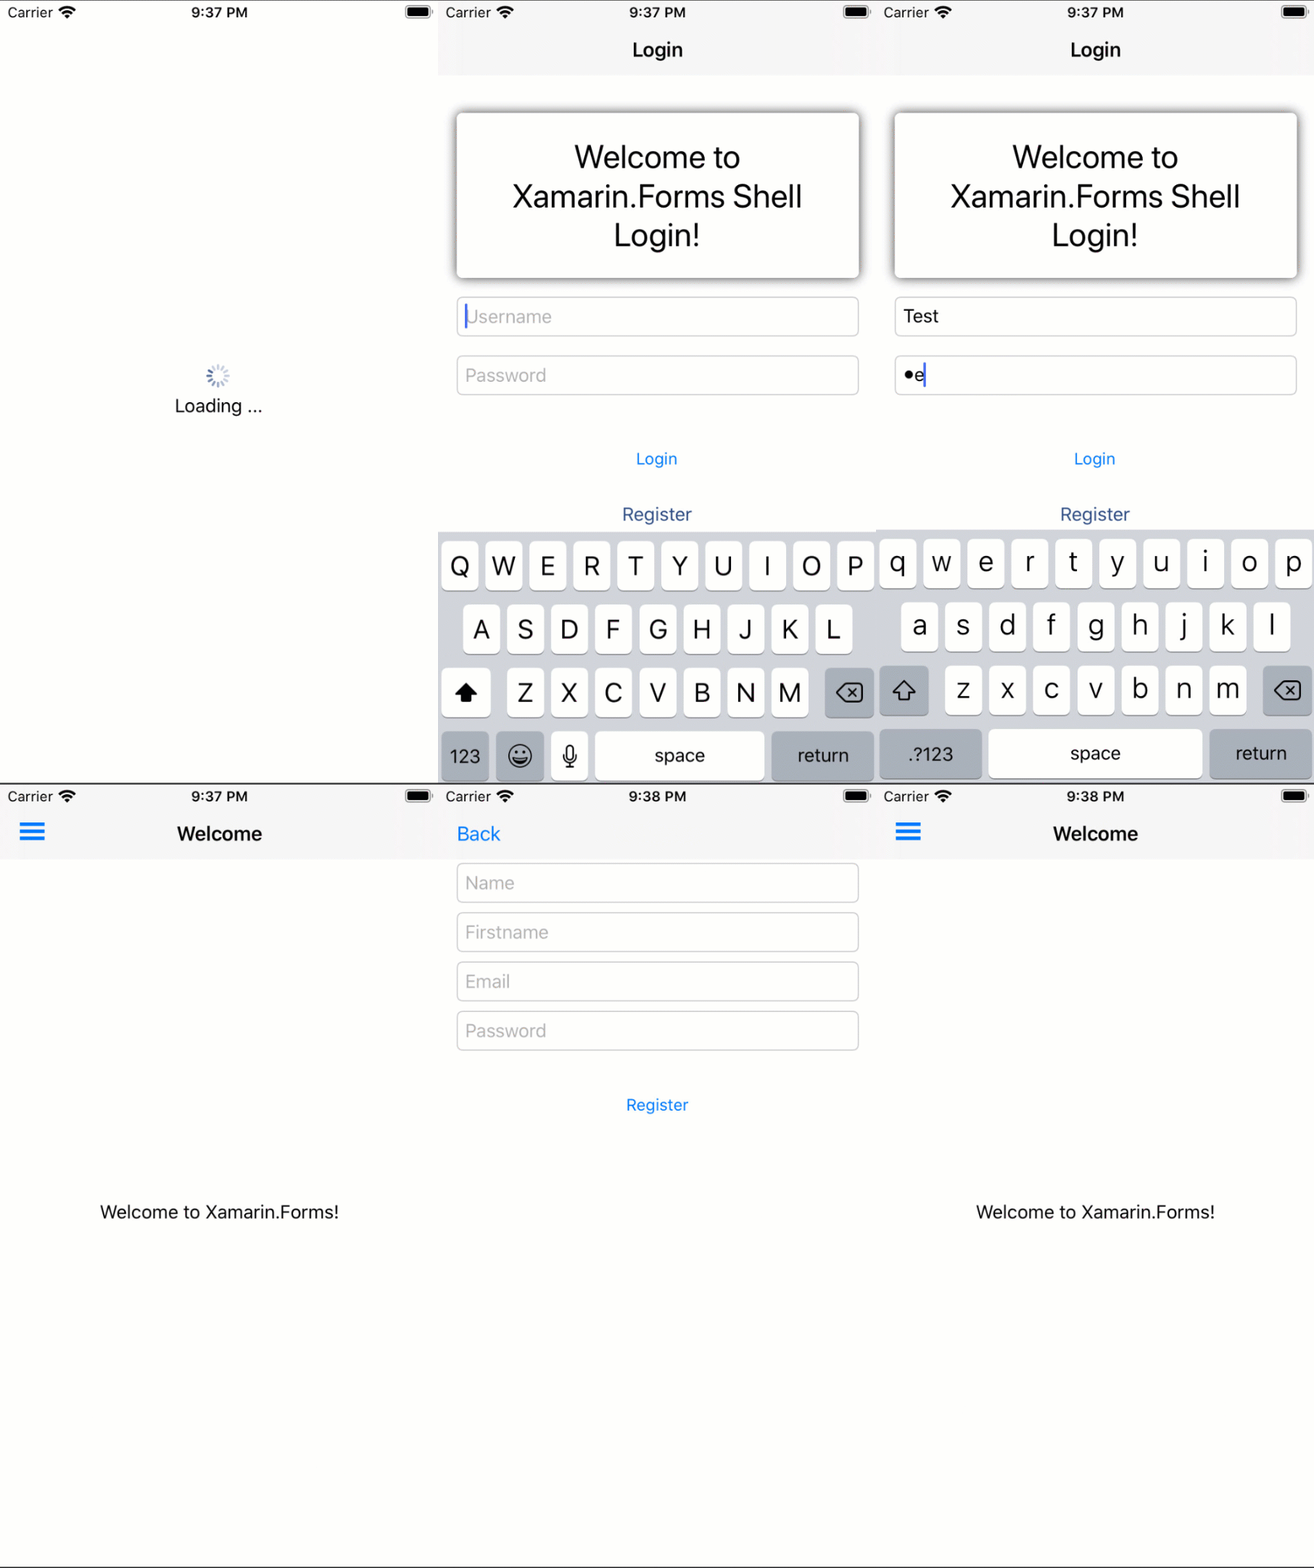
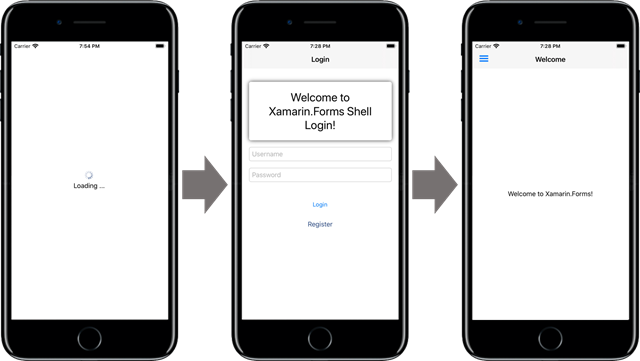
So let’s see how we can capture the user on a page and then ensure that this page is no longer on the navigation stack while using Shell. So let’s get going with the UI flow of a possible login experience. Our app has the following screen flow:
All of our pages have to be registered with the Shell. Note that the first ContentPage in the Shell.xaml file is the one getting displayed after start-up. So our Shell is structured accordingly:
<!-- Loading/Start Page -->
<ShellItem Route="loading">
    <ShellContent ContentTemplate="{DataTemplate local:LoadingPage}" />
</ShellItem>

<!-- Login and Registration Page -->
<ShellContent Route="login"
              ContentTemplate="{DataTemplate local:LoginPage}">
</ShellContent>

<!-- Main Page -->
<!-- We will get to this later -->
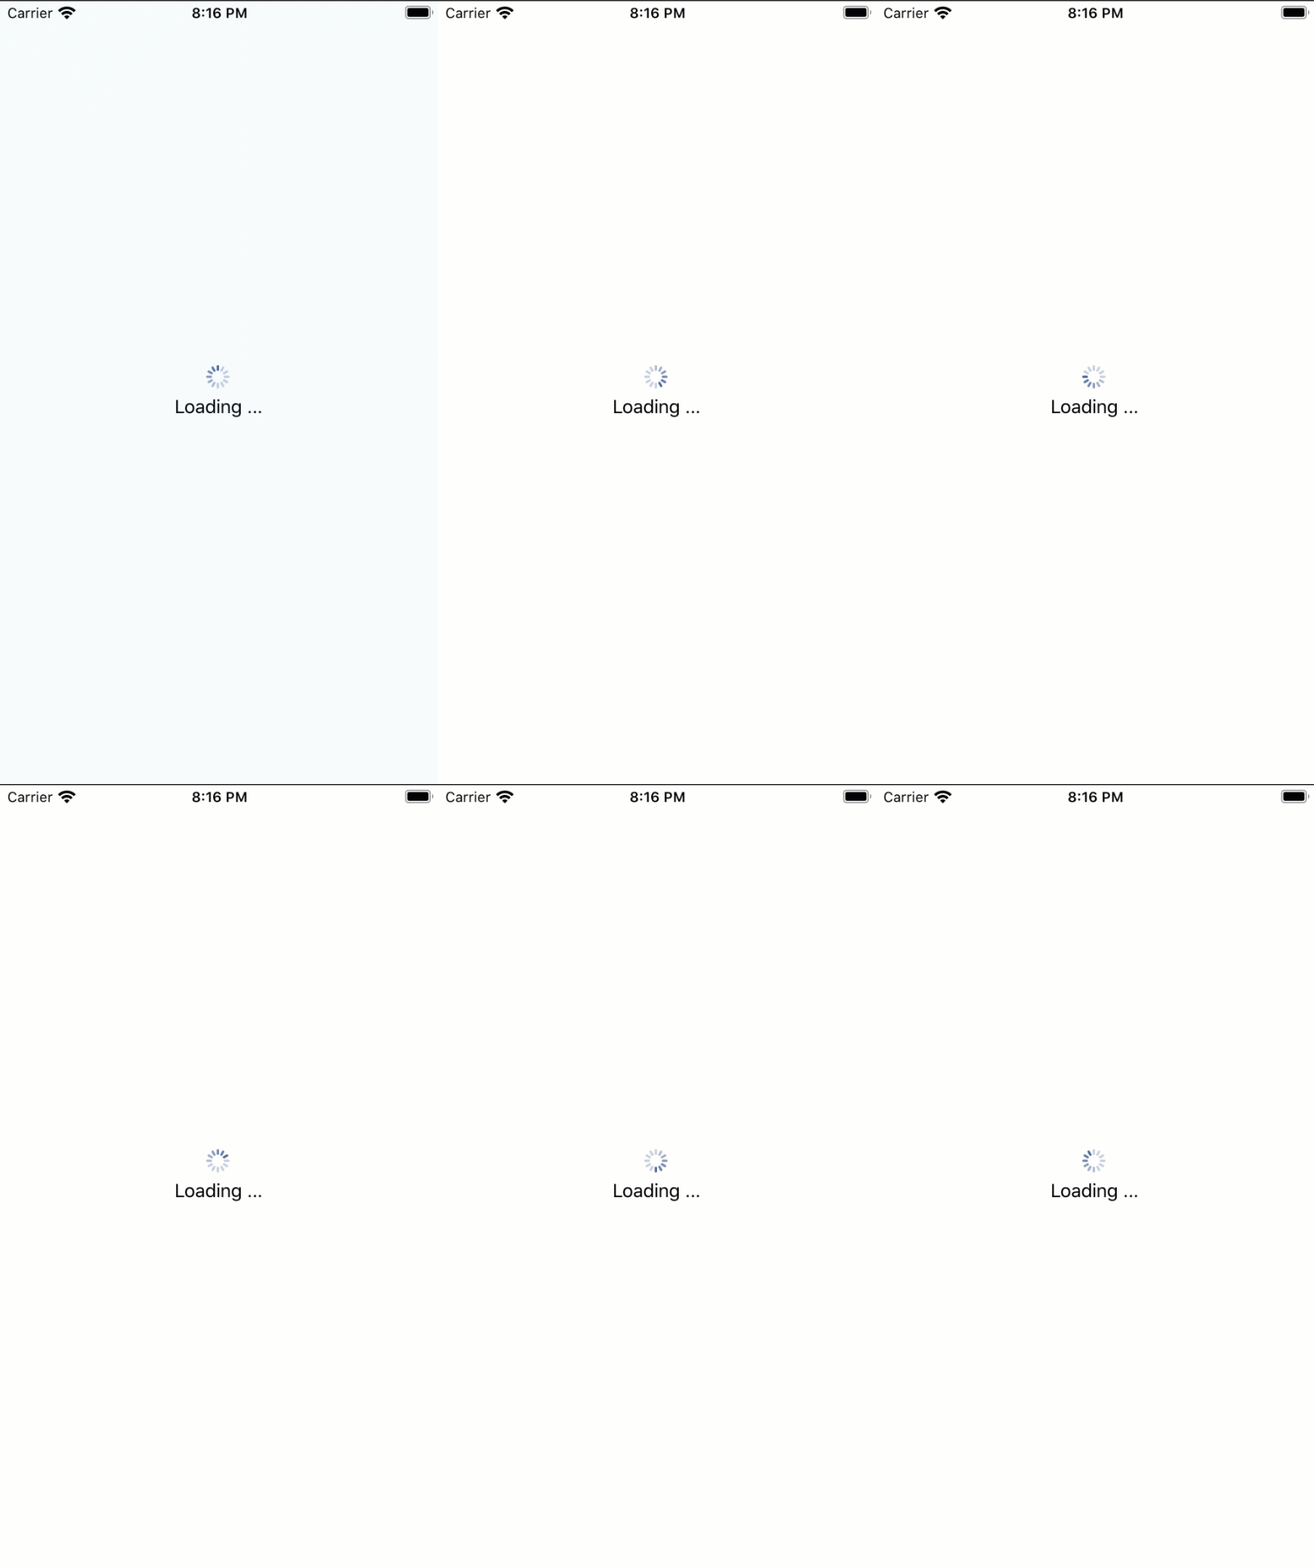
Our loading screen mainly simulates checking if the user has valid credentials. If the app was not a total fake on the business logic side. It might be using a Token-based flow; this is where one would check if the app still has a valid token and can go directly to the main screen or the user has to log in.
Beautiful load animation, right? 😉 And here is the slim logic in the View Model :
// Called by the views OnAppearing method
public async void Init()
{
    var isAuthenticated = await this.identityService.VerifyRegistration();
    if (isAuthenticated)
    {
        await this.routingService.NavigateTo("///main");
    }
    else
    {
        await this.routingService.NavigateTo("///login");
    }
}
Note we only tell the Shell to navigate to the login screen. When using Shell, you define the kind of navigation on the target page. So for the login page, we would set it like this:
<?xml version="1.0" encoding="utf-8" ?>
<ContentPage xmlns="http://xamarin.com/schemas/2014/forms"
             ...
             Shell.PresentationMode="ModalAnimated"
             ...>
    ...
</ContentPage>
And whenever you navigate modally, it is always a good idea to override the back button navigation in the code behind of the target page as follows:
protected override bool OnBackButtonPressed()
{
    return true;
}
Why? Well because otherwise all your Android users could just simply press the Android back button and weasel their way out of your carefully crafted login process. Now let’s add a registration page. Here we define the standard push navigation:
?xml version="1.0" encoding="utf-8" ?>
<ContentPage xmlns="http://xamarin.com/schemas/2014/forms"
             ...
             Shell.PresentationMode="Animated"
             ...>
    <Shell.BackButtonBehavior>
        <BackButtonBehavior Command="{Binding ExecuteBack}"
                            TextOverride="Back" />
    </Shell.BackButtonBehavior>
    ...
</ContentPage>
Before we can navigate to the registration page, we have to register the page with the Shell. We can do this in the code behind of the AppShell.xaml.cs file:
Routing.RegisterRoute("registration", typeof(RegistrationPage));
Now we can navigate from the login page to the registration page by as follows:
Shell.Current.GoToAsync("//login/registration");
The code above implements the default navigation behaviour, i.e. a back button on the top left or by using the back button on Android. So as soon as the user has logged in, we display the main page of the app. Which is again defined in the AppShell.xaml as follows:
<!-- Main Page -->
<FlyoutItem Route="main"
            FlyoutDisplayOptions="AsMultipleItems" IsTabStop="False">
    <ShellContent Route="home"
                  IsTabStop="False"
                  ContentTemplate="{DataTemplate local:MainPage}"
                  Title="Home" />
</FlyoutItem>
Since it is not part of the login page, the Shell automatically removes the login page form the navigation stack.
So now that we are in the app. Sometimes you will want to present the user with the option to logout. Shell gives us an easy way to define a flyout menu. In Non-Shell apps, this is usually done with the MasterDetailPage. So a nice place to add our logout is as a new entry in the flyout right? Instead of defining a flyout item, it will be better to use a menu item. In general think of flyout items as areas of your app and menu items as actions in the menu. The logout is less an area and more an action. So for our logout, we define a menu item like this:
<MenuItem Text="Logout"
          Command="{Binding ExecuteLogout}" />
The Command and Binding context get defined in the code behind, i.e. the App.xaml.cs:
public AppShell()
{
    InitializeComponent();// ... routes and stuff
    BindingContext = this;
}

public ICommand ExecuteLogout => new Command(async () => await GoToAsync("main/login"));
Depending on the requirements of your app, you might want to force the user to log in at different times. This could be during start-up, resume or on a rainy Tuesday. Whatever the requirement, you can simply invoke the navigation similar to above, and the user will be navigated to the login screen. Once successfully logged in, the user is returned to the page on which the login page was opened.
Conclusion
With the new modal navigation mode of Shell, the implementation of a Login screen can be done quite nicely and with a lot less worrying about the state of the navigation stack. One of the main differences between using a NavigationPage compared to the Shell is how you configure the different parts within the AppShell.xaml. The Xamarin team has mentioned that more goodness should come to Shell, so be sure to stay tuned and watch out for news on the Xamarin Blog regarding new updates and features.
You can find the entire sample on GitHub. And check out David Ortinau’s sample which inspired this post.
HTH


